How to draw in 3D or in perspective?
Since perspective has been mastered, 3D is everywhere. It has been used in art since the greatest painters embraced it, and today, computers offer us many possibilities to draw more easily in three dimensions, and make this technique accessible in many cases, thanks to dedicated software and a graphics tablet.
3D is all about perspective.
What is perspective drawing?
Perspective is a drawing technique that creates depth and gives the observer the impression of a three-dimensional representation, whereas a sketch is actually made on a flat surface. Thanks to different techniques, the draftsman can represent an object, a human body, or simply a landscape, in a very realistic way, just by using horizontal and vertical lines, parallel segments or converging towards vanishing points, in order to trick the viewer, and create the desired impression of depth. Practicing perspective is therefore a must for beginners, when learning drawing and its basic principles.


The different types of perspective.
Drawing horizontal and vertical lines is not enough to create a perspective. There are many perspectives, and depending on the type of technique you use, each will look completely different from the other. This is why the beginner must absolutely know the perspectives, in order to know how to draw and make beautiful and striking 3D drawings.
There are two main types of perspective:
Metric perspective. This one is well known by students who are bored during class and draw cubes and rectangles in 3D on the side of their notebooks. This kind of perspective drawing, is based on the arrangement of segments, parallel to each other, from 3 axes (one representing the width, another the height, and the last the depth of the cube). The straight lines then join to form cubes or other geometric shapes. With this technique, it is possible to draw volumes easily, the angles complying with those of the base object, and the lines ensuring the parallelism of the latter. The so-called cavalier, isometric and axonometric perspectives are all part of this group, and are used in particular in architecture to accurately represent angles and building proportions.
Conical perspective. More artistic, the conical perspective group aims to reproduce what the human eye actually sees. The segments lose their parallelism in favor of a horizon line and vanishing points. This allows us to distinguish a foreground, then more distant levels. Objects and bodies in volume can thus be represented in such a way as to clearly see the depth of field. To do this, straight lines, parallel in reality, will not be parallel on the drawing, and will instead converge towards the vanishing point, unique in the frontal representation of an object, double in its oblique representation, and triple in an aerial representation. These points are placed on a horizon line. By proceeding in this way, the 3D effect is much more realistic for the human eye, and the conical perspective is used both in realism and in trompe l'oeil.

Drawing in three dimensions, an essential technique.
3D is essential to represent realistic volumes.
If 3D is already present in art pieces, since the Renaissance and perspective painting, it also takes more and more importance in everyday life in graphic design, architecture and industry, among others. It allows you to draw a sketch perfectly respecting volumes, realize a drawing faithful to reality, and easy to understand for everyone, even for a novice in the field. This is how three-dimensional drawing became a standard, to help understanding, and to make ideas and creations more concrete.
3D drawing and trompe-l'oeil.
The perspective that gives a 3D effect to a drawing can be perfectly used and reinforced, even to the point of completely distorting lines, so that, from a certain angle, the drawing comes to life and seems to emerge entirely from the paper, or has an impressive impression of depth. A simple example might be the large brand logos on rugby fields, which, in most side camera shots, look completely straight, but are actually completely distorted once the camera is placed in front of the posts or above the field. These trompe l'oeil techniques can be used in many ways, whether it is to make a room appear larger in a shot, to make a design stand out depending on the angle of view of the spectators, or to allow for the creation of whimsical and artistic illusions.
Draw in 3D using specific software.
Drawing software, a precious help for 3D drawing.
3D is now everywhere in our daily life, that's why designers, architects, or professionals who need to model their projects, in order to allow a better visualization for their clients, use today a whole range of free and paid software, under Windows and Mac OS, in order to make representative drawings of their work. From architecture software, like Google Sketchup, which allows to create and draw a house, to Solidworks, a 3D modeling software (also called CAD software), without forgetting the Adobe suite, with Photoshop or Illustrator, easier to handle, more versatile, and also allowing to be used as a drawing software, each software has its specificity, and many others exist, with many specific options, allowing to model in a few clicks your ideas in 3D. The goal is obviously, whether for art or for a more technical aspect, to be able to work quickly, and to digitize and retouch creations easily, while proposing to the customer or to the viewer, to fully project himself in what is being presented.

The graphic tablet, an essential companion to draw naturally.
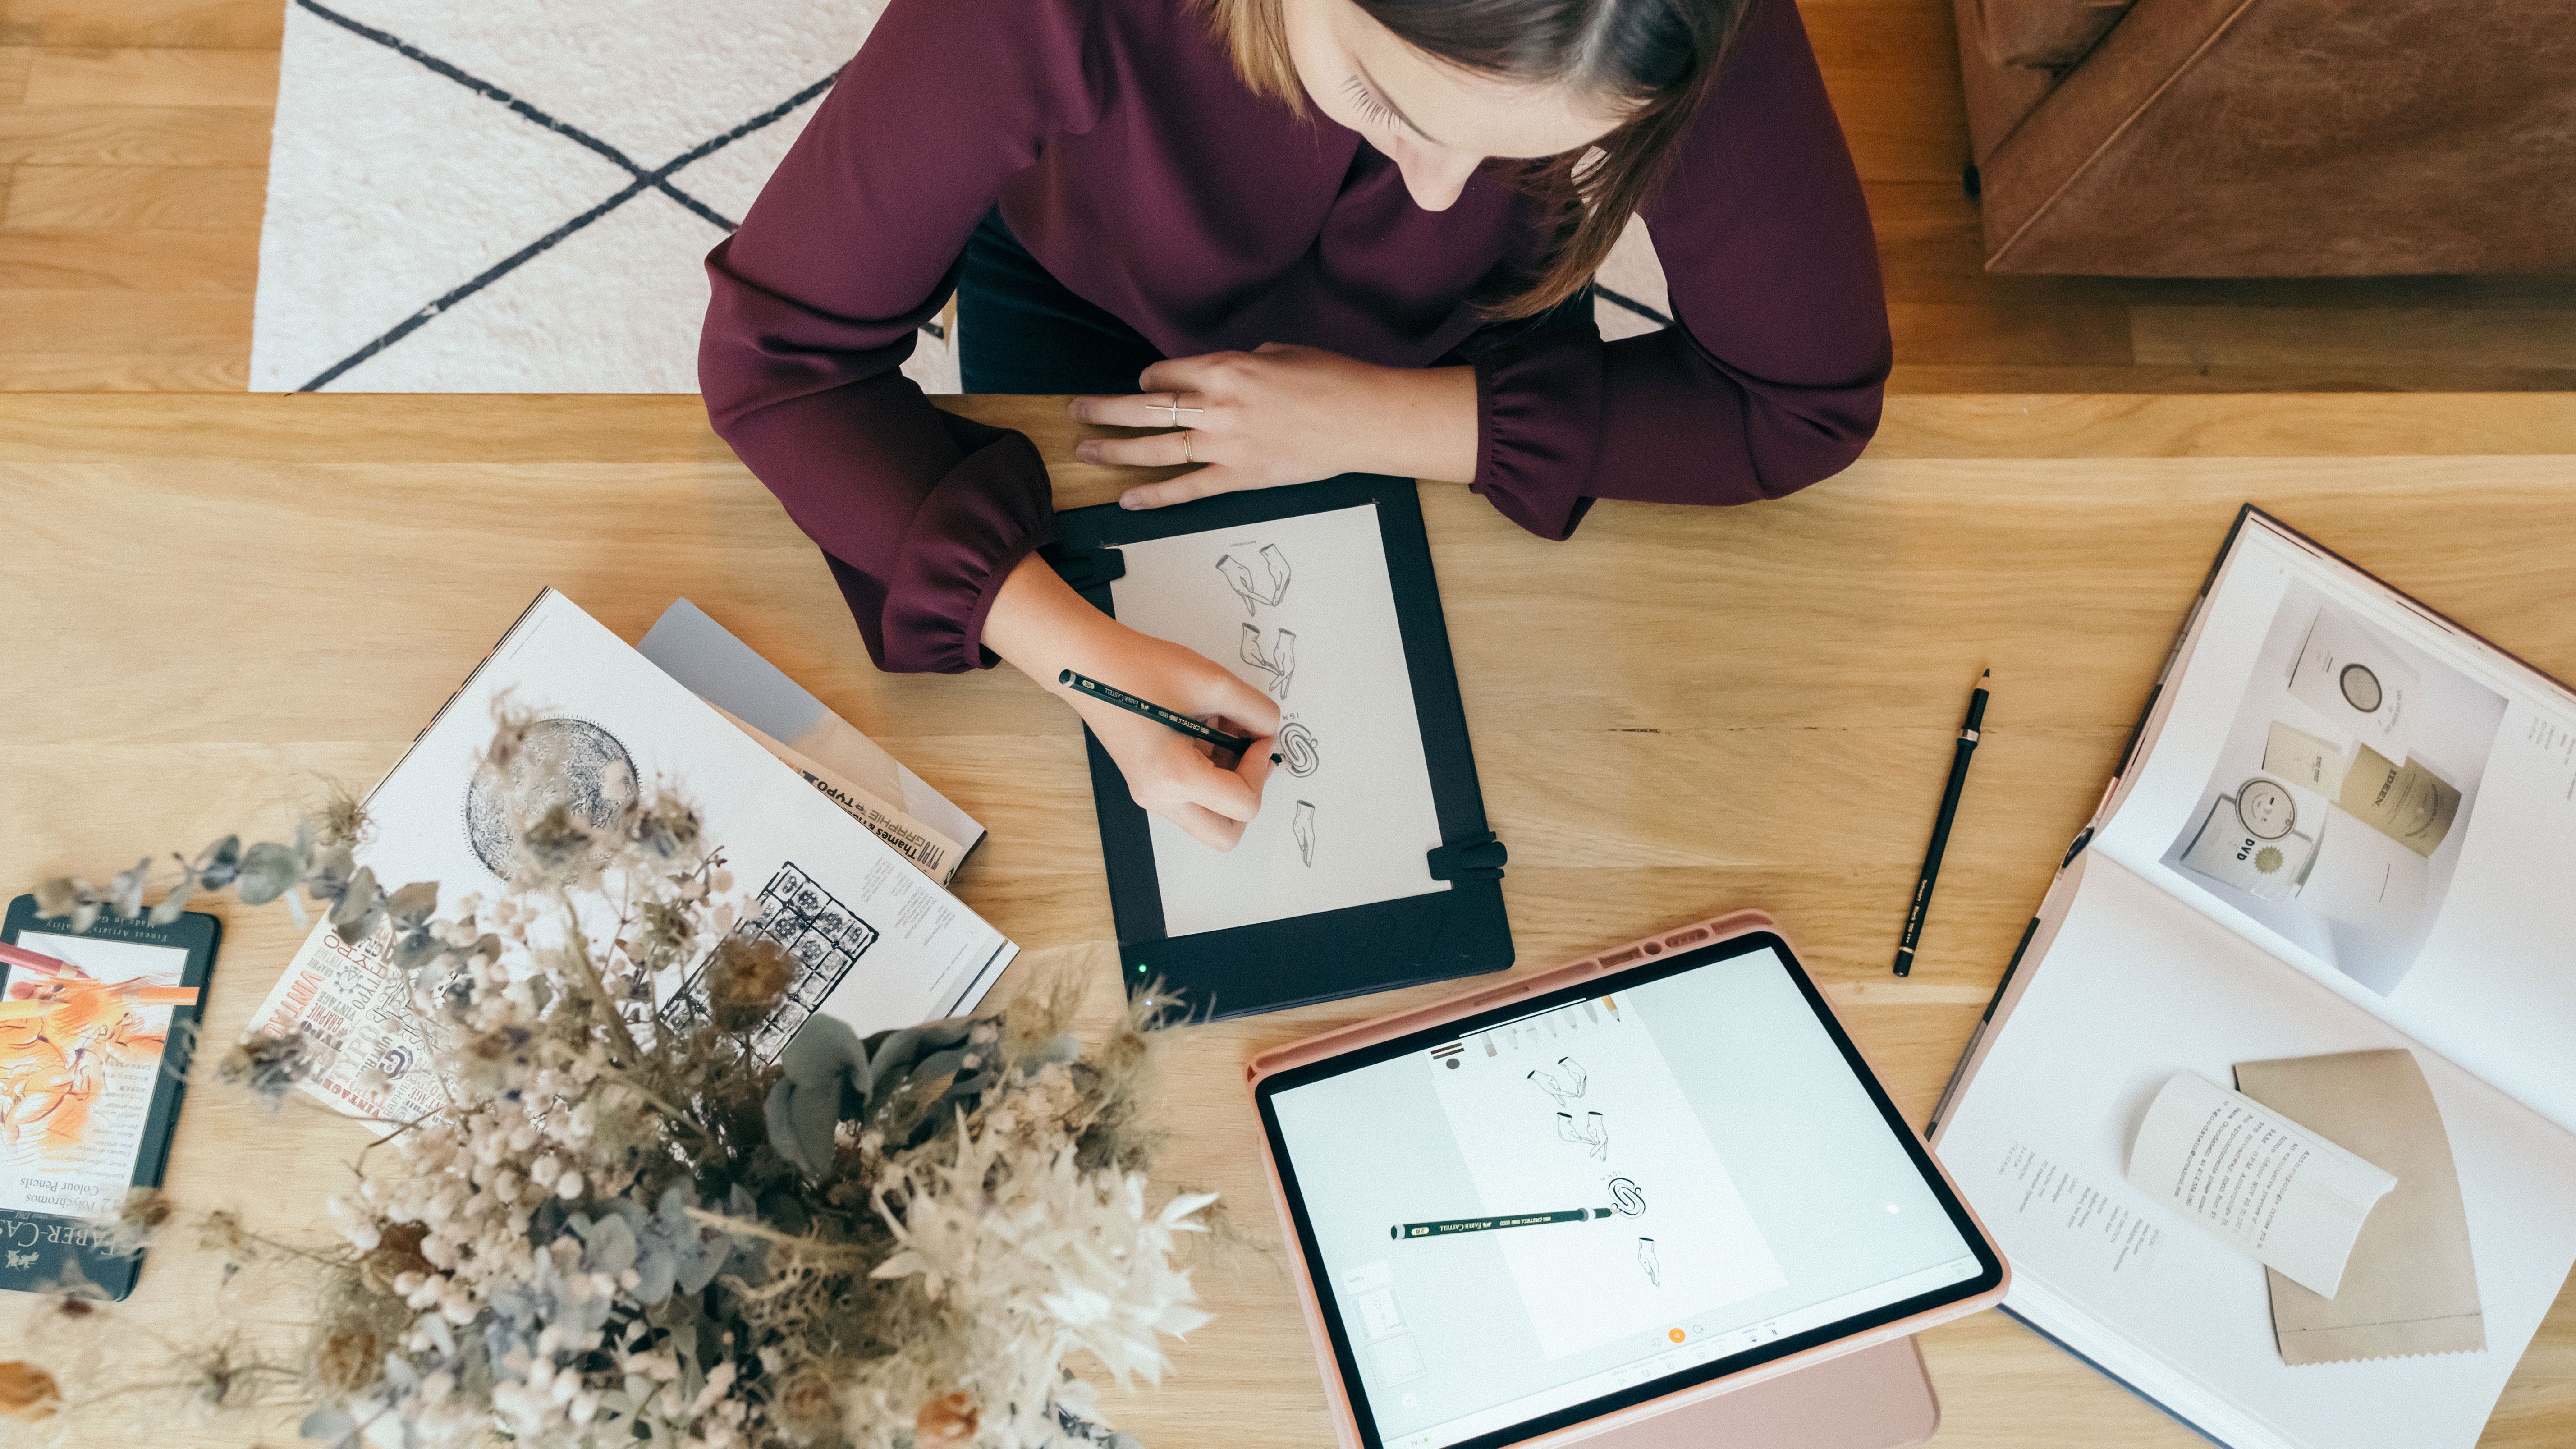
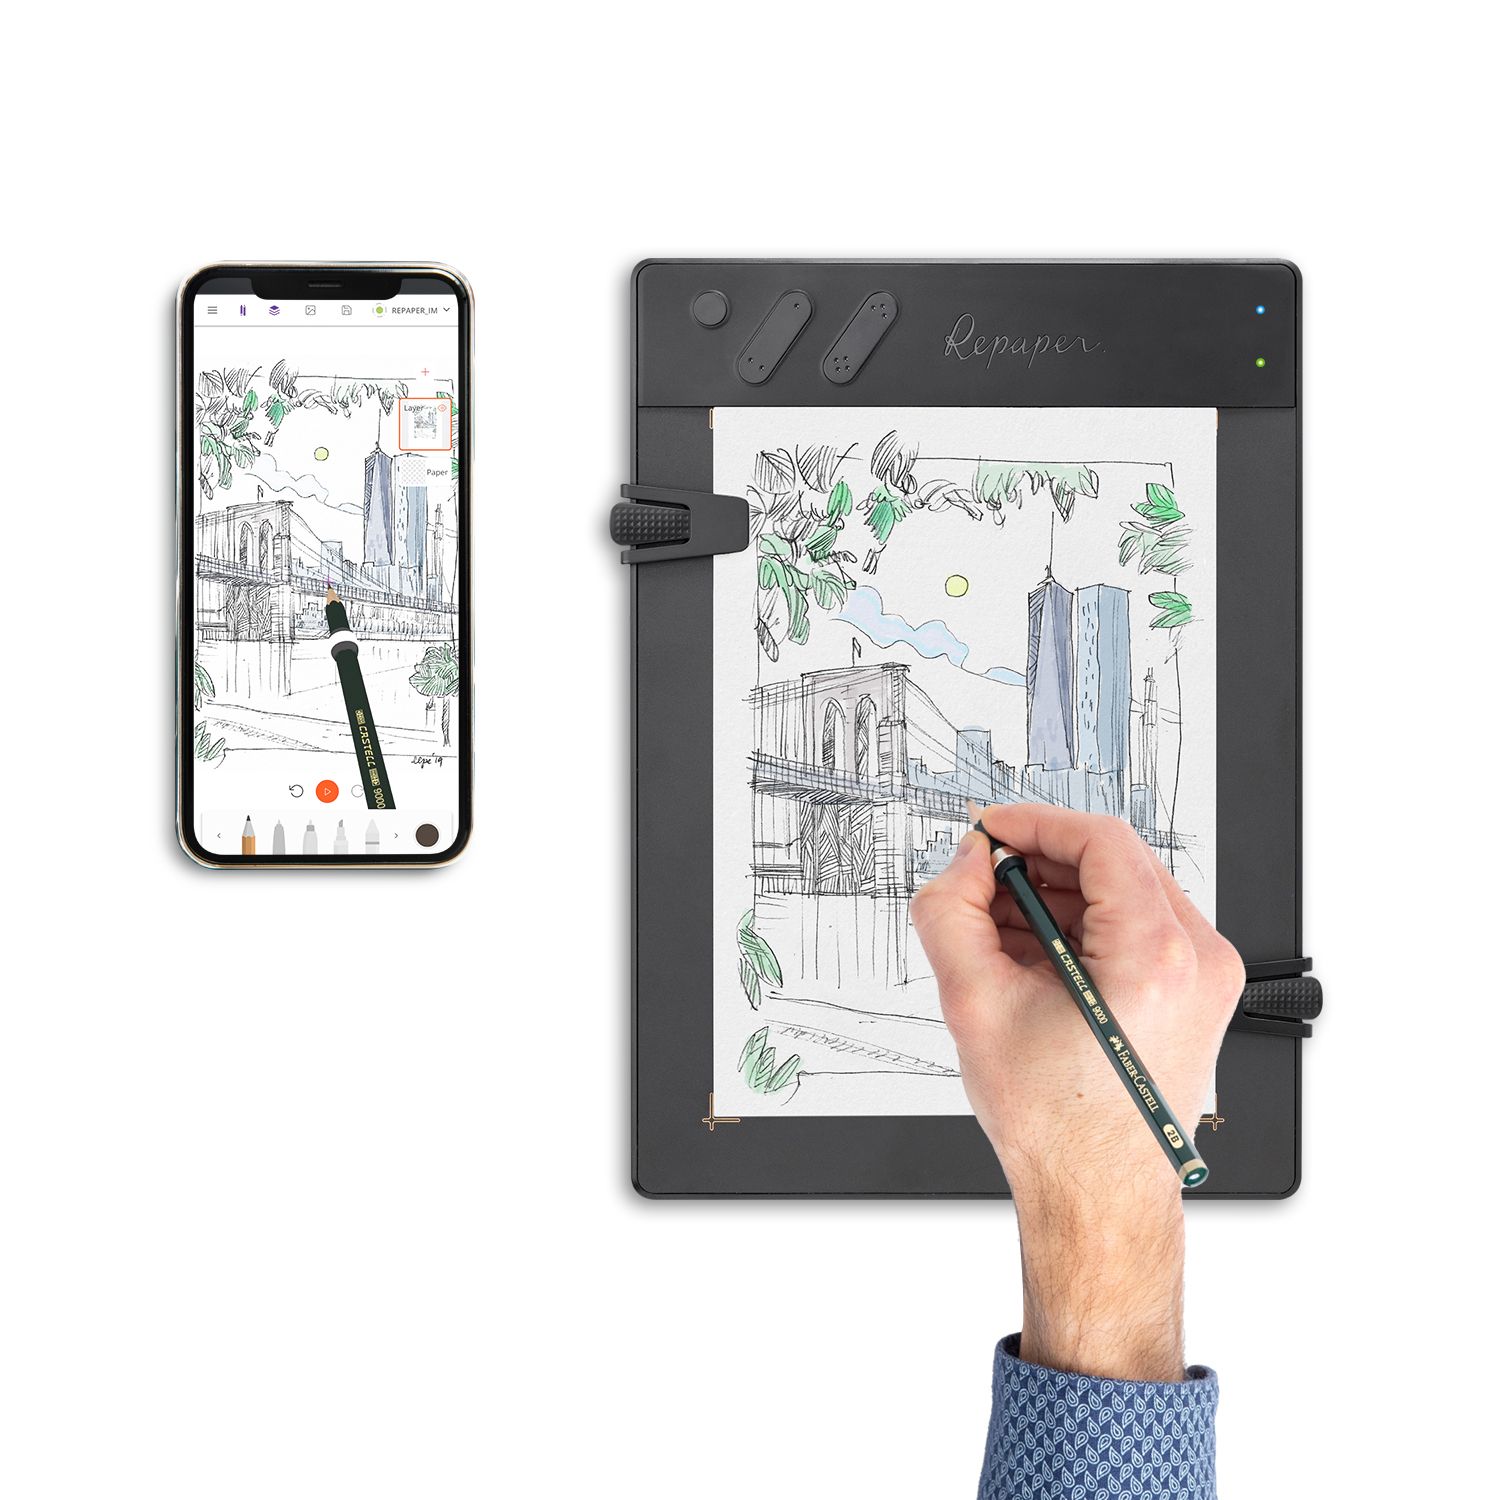
Obviously, when you say a 3D drawing via a computer software, you mean a graphic tablet. The tablet becomes essential for the use of the software, the stylus replacing the imprecise and not so ergonomic mouse. Thanks to the absolute positioning sensor, as opposed to the relative positioning of a mouse, which requires moving the mouse several times to make the cursor move on the screen, and the stylus, which provides a more natural position, it becomes much easier to draw with the hand raised. However, the graphic tablet often has its limits, and between the grip of the stylus, the hand-eye coordination requiring to look at the screen when drawing, and the feeling of the drawing surface, many users, as well as the beginner, as the draftsman or the graphic designer, even if they are experienced, can feel uncomfortable with this type of tool. This is why using a tablet where it is possible to draw on a sheet of paper, like the ISKN Repaper, is an interesting option. This type of graphic tablet offers all the advantages of a digital tablet, with the management of layers, brushes, and all the options of the software, thanks to the assignable shortcuts, while allowing you to work with your favorite pencils and pens, and having the real feeling of drawing on paper, as you would have when working with a notebook. You can also import and export your 3D works, and share them with your clients, or on the Internet, to work more efficiently and rapidly.
Some tips to learn how to draw in three dimensions.
Master the basics of drawing.
It may seem obvious, but drawing in three dimensions requires mastering the basic drawing techniques. Clean lines, shading, proportions, ... Don't hesitate to practice for many hours, or even take drawing classes before getting into 3D and perspective.

Start with simple geometric shapes.
To create three-dimensional designs, geometry will be your best friend. Square, rectangle, ellipse, polygon, ... Take a simple shape, embellish it with lines and curves, to make cubes or cylinders. Once mastered, add shadows to accentuate the effect of depth and the impression of 3D.
Many tutorials on the Internet exist to guide you.
You are starting to master the basics of depth and 3D, but you want to go further? A multitude of tutorials are available on the Internet. Whether you want to master the pencil to perfection, or a free or paid software, you are spoilt for choice on one of the many sites offering courses on the web. Drawing and designing works in 3D, making plans for an architect's house or a construction project, planning an interior design, or creating a 3D object model, everything becomes more approachable for everyone thanks to an adapted tutorial.
3D drawing is accessible to all.
As we have seen, if 3D requires basic drawing skills, thanks to graphic design software dedicated to several applications, and to various digital tools as well as to tutorials on the Internet, it is now easier to represent reality on one's sketches. However, knowing how to emancipate oneself from the traditional technique by distorting the lines, also allows, from a certain point of view, to realize trompe l'oeil and to distort reality, thanks to certain perspective effects. Learning to draw in 3D becomes a real added value for many projects, from the most professional to the most artistic.


Discover more
How to create a Manga? Tools, Techniques, and Digital Mastery
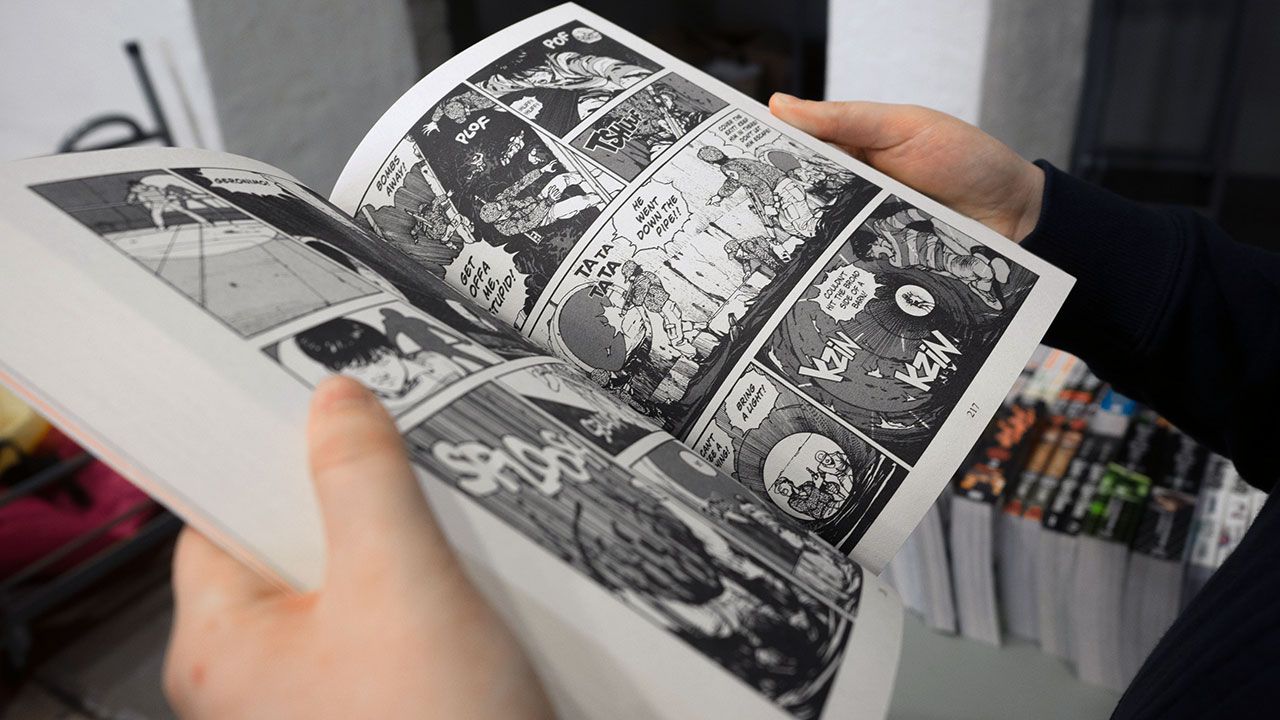
Manga has been popularized all over the world through mythical works such as Dragon Ball, One-Piece or Naruto, and many beginners want to learn drawing in order to create their own Japanese comic books.
How to Make a Cartoon: From Traditional Drawing to Digital.
Discover the techniques and steps to make perfect animations to create smooth and professional cartoons.
How to draw a character?
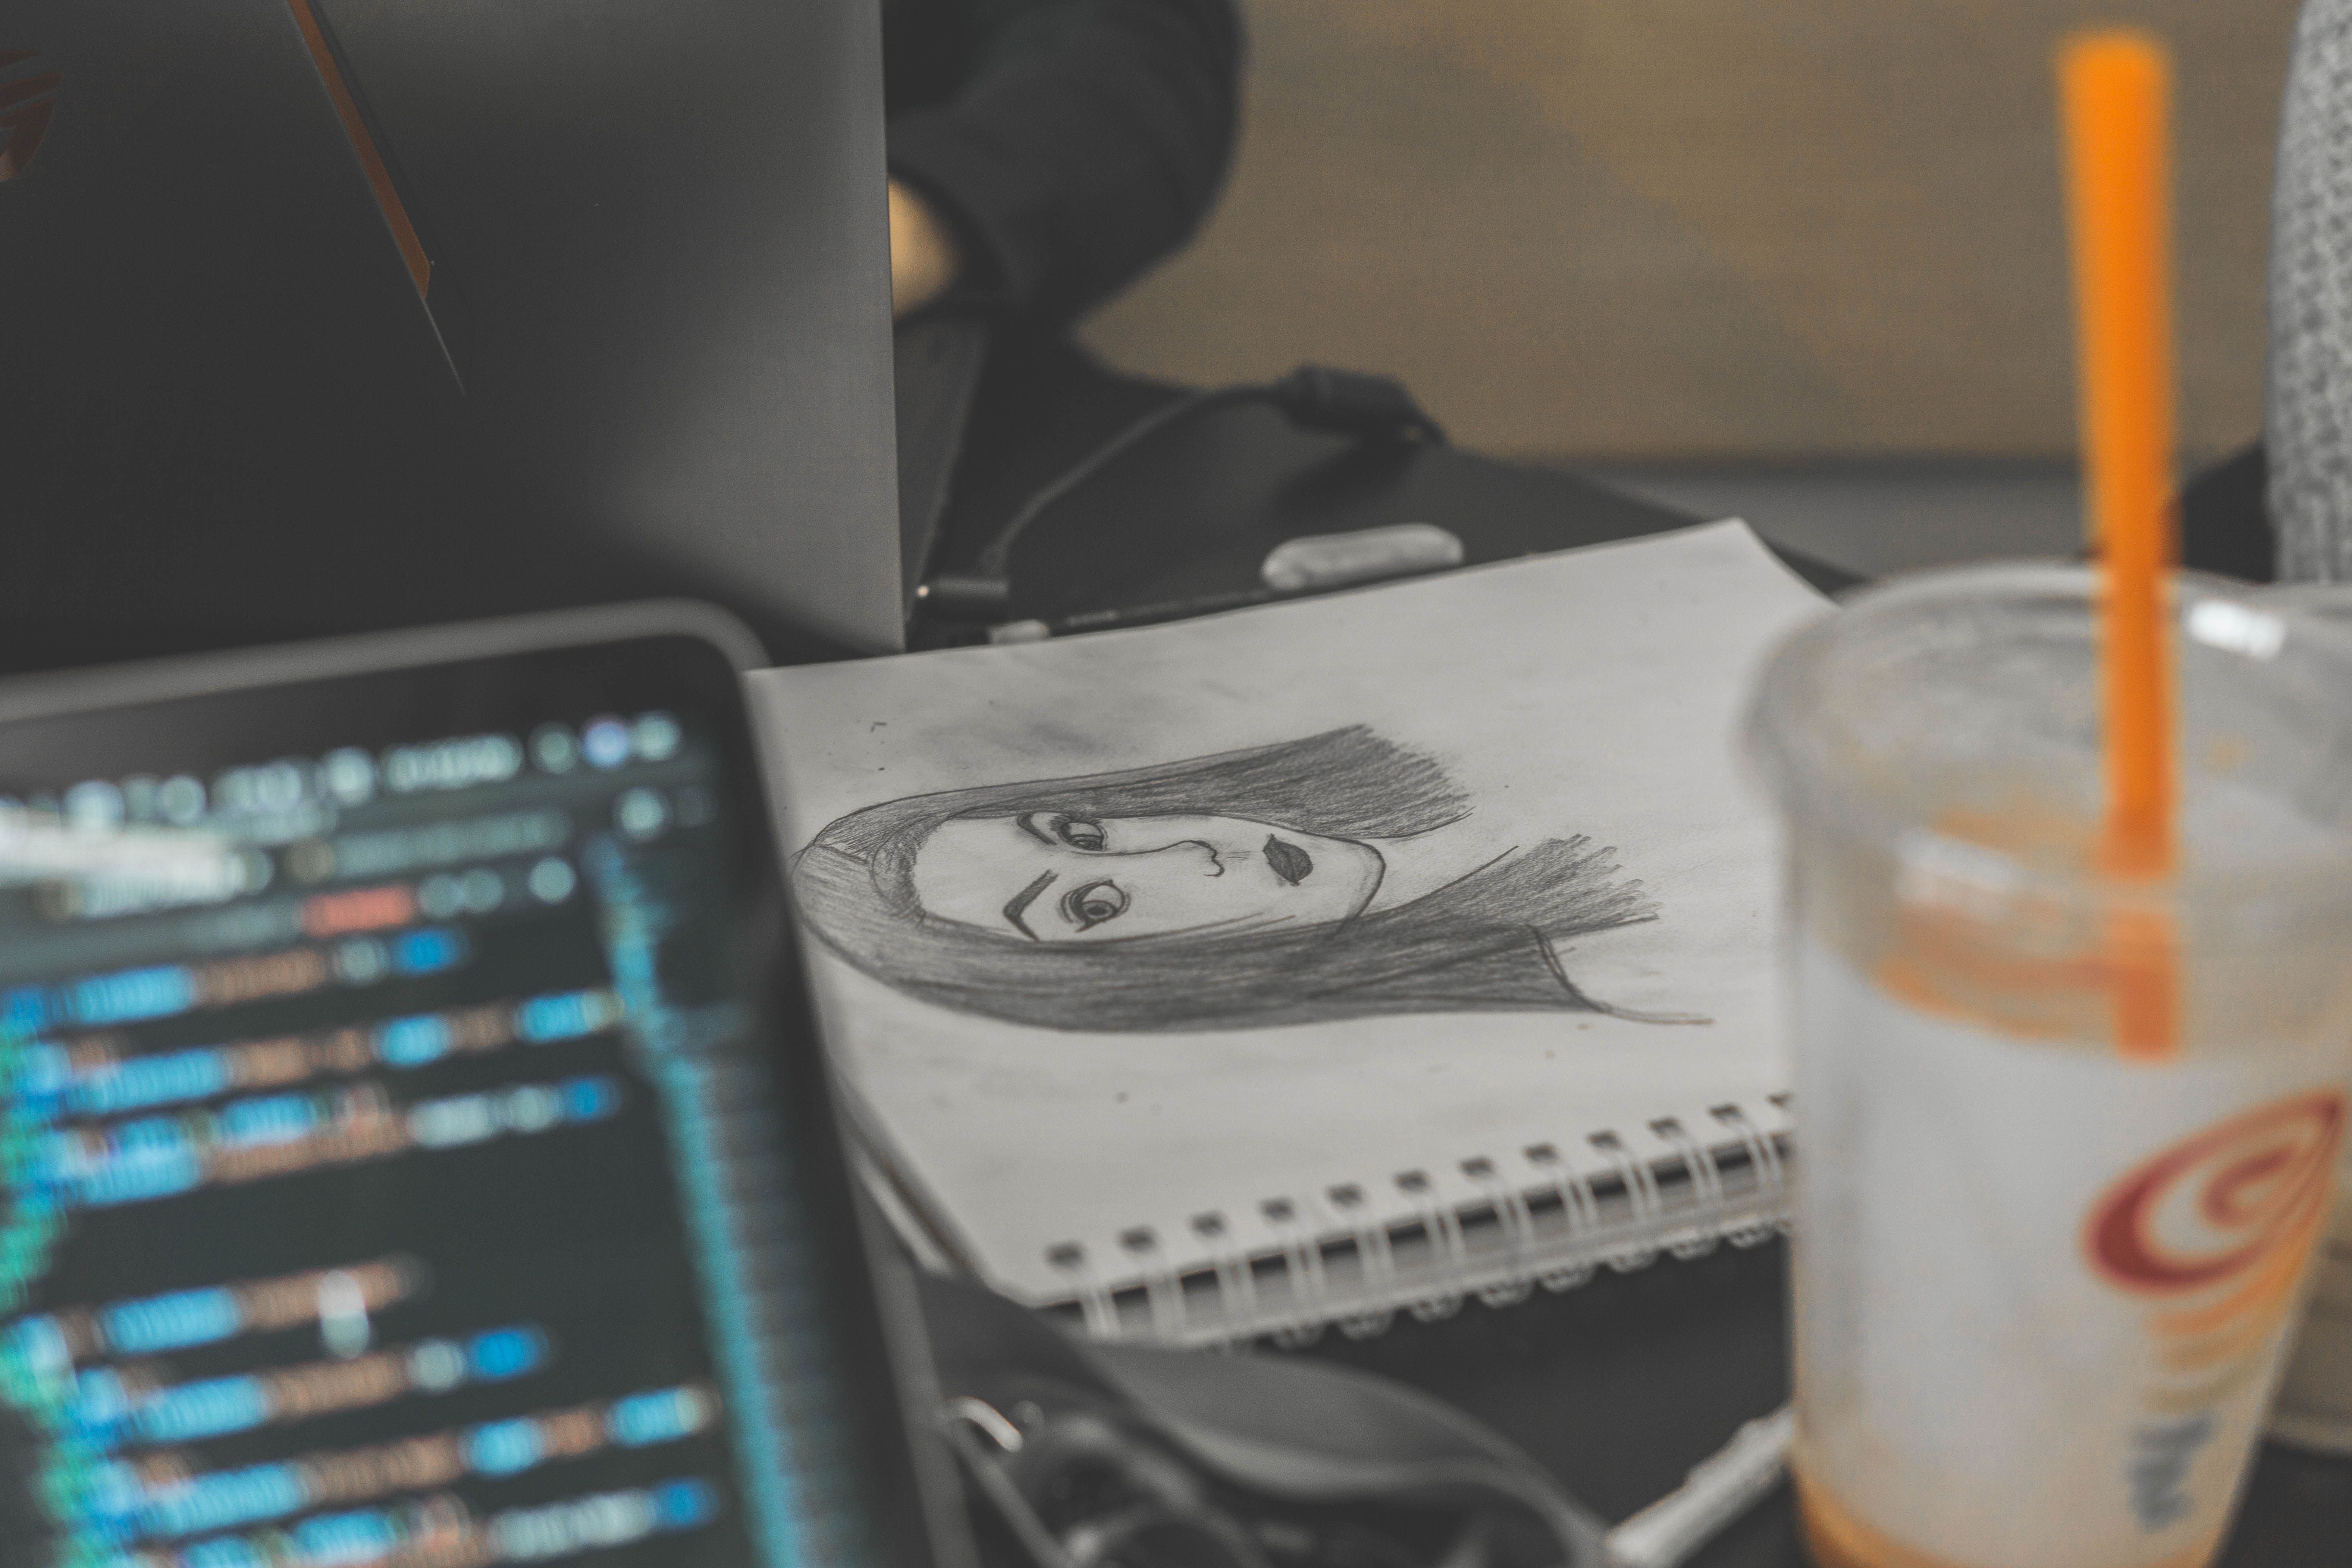
Learning how to draw a character is something that may seem obvious, but beginners are often faced with a disappointing result when they start not to copy a model, but to make their own creation.
Newsletter
Keep up to date with iskn news and events
Free standard delivery
for purchase over £80
30-day returns
on all products
Secure payment
with Stripe & PayPal
Pay in 4
with PayPal
Customer service
chat with us


